Daysmart Salon is frequently updated with new features and we hope our latest release will save your business precious time, help you limit close contact, and streamline valuable data collection!
Learn more about our new free online forms feature below:
(Available to Deluxe, Premier, and Platinum Cloud subscribers only. To upgrade or switch to our cloud software, please call (800) 527-7600)
Customize Online Forms In Minutes
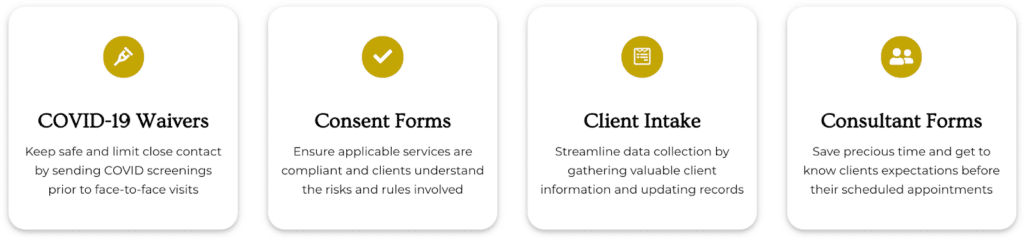
Go paperless and modernize your salon – easily build customizable forms and send them to clients via text and/or email. Online forms could include anything from COVID-19 questionnaires, consent forms, client intake forms. consultation forms, and so much more!
Start building forms today – access our new easy-to-use form builder by logging into your Daysmart Salon account, selecting ‘More’, and then clicking on ‘Forms’.
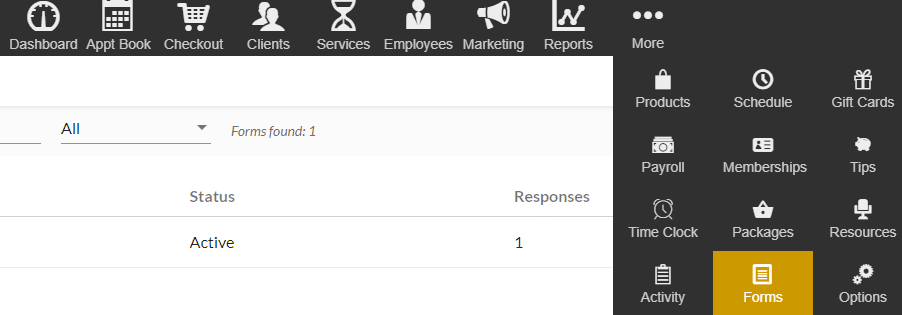
From the ‘Forms’ menu, you’ll be able to see all your forms in a list view format displaying form status, number of responses, and date created. From here, simply edit/activate existing forms or click the ‘+’ button to start customizing forms with robust drag and drop functionality.
Select from a variety of fields including multiple-choice, single choice, dropdown, scales, date/time, short/long answers, signature capture, and format your form with relevant headers, paragraphs, and separators.
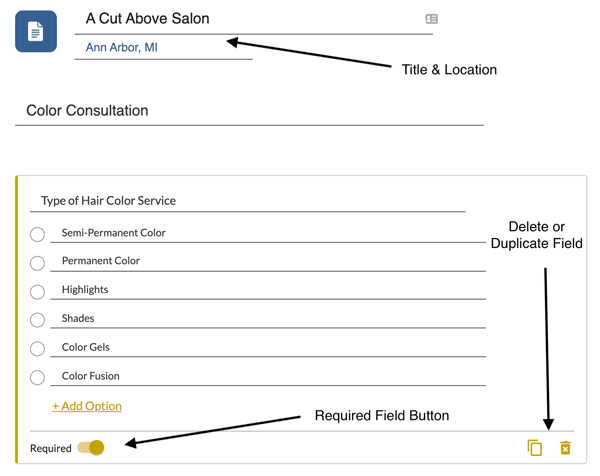
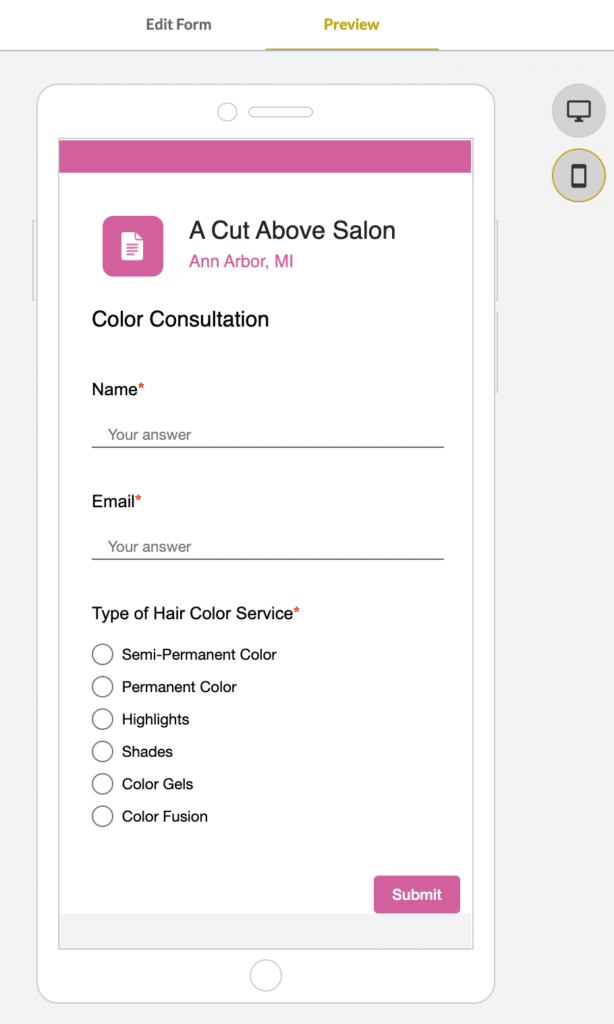
The form header and subheader will automatically display your “Company Name” and the “City, State” of your business from your account settings to save you time when designing new templates.
Decide which fields need to be completed by the client and which fields are optional by toggling the ‘Required’ button. Making fields required will ensure clients can’t submit the form until the question is completed. You can also delete and duplicate fields easily by using the buttons located to the right of the ‘Required’ toggle.
Build & Preview To Match Your Brand Perfectly
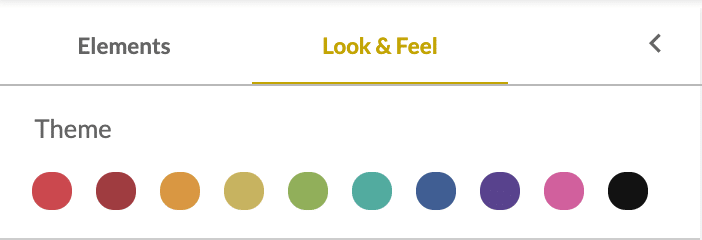
Choose your form templates “Look & Feel” to suit your business brand by picking from ten different color themes which change the form’s background and submit button color.
Once your form is all set with the correct fields, color theme, and format, you can then go ahead and preview your newly created form for desktop and mobile. Interact with the form as your client would, to ensure everything is working as expected before activating and sending.
Effortlessly Integrate With Clients & Services
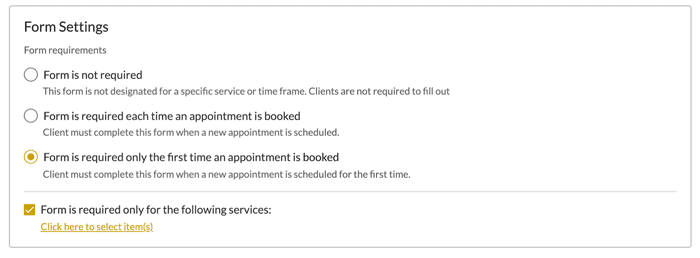
You’ll now want to activate your ‘Form Settings’. This is where you’ll set up form requirements and integrate them with your client records and services.
For each form, select from the following options: form is not required, form is required each time an appointment is booked, or form is required only the first time an appointment is booked. If selecting one of the ‘form is required’ options, you can then pick which services require the form from an entire category or a specific service.
Never Miss a Form – Send Via Text, Email, or Both
When a service is booked or when viewing an appointment that requires a completed form, a notification will appear with a “Complete Now” link to alert you to send the required forms to the client.
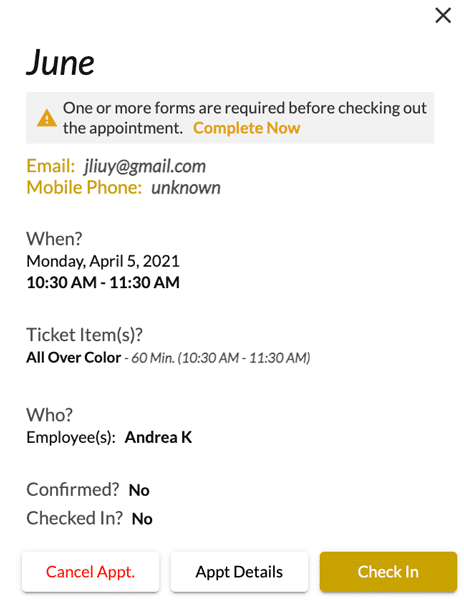
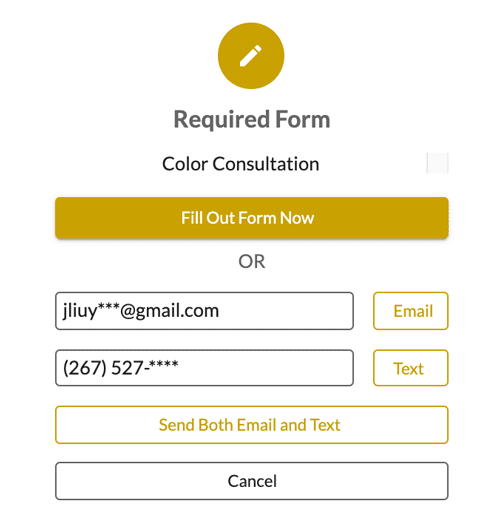
Clicking the “Complete Now” button will open another box where you can either fill in the form now (if the client is at your business and didn’t complete the form prior to their appointment), or send the required form to the client via text, email, or both.
You will continue to see this notification on the scheduled appointment until the required form is completed to ensure you stay compliant and don’t miss any required forms.
Once the form has been sent, clients will receive an email and/or text asking them to complete and submit the form attached. Once the client has completed all required fields and submitted the form, the form notification will automatically disappear from the appointment.
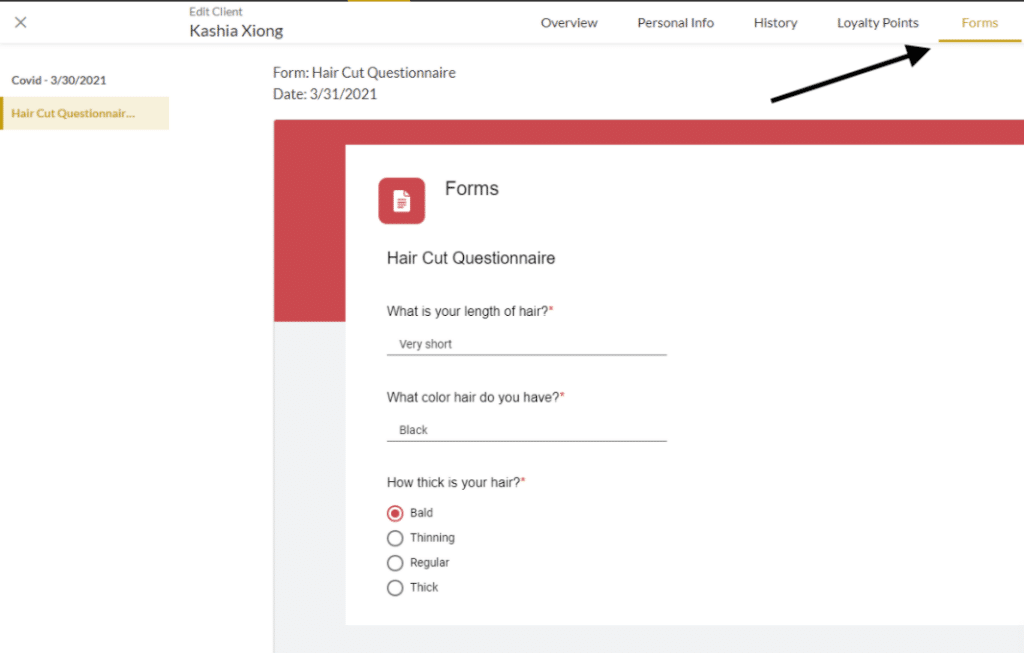
When selecting a client record, you’ll now be able to see a new “Forms” tab. From this tab, you’ll be able to view a snapshot of all completed forms by individual clients.
If you want to prevent particular employees from either adding/editing, deleting, or viewing forms – simply go to ‘More’ – ‘Options’, and then under ‘Management’ select ‘Employee Access’ to modify employee access for forms.

More Online Form Features Coming Soon!
Our online form features won’t end there though, hold tight for updates with the following functionality being added:
- Complete any form right from the client profile
- Add file upload fields
- Select forms from pre-made templates
- View incomplete forms right from the client profile
- Automatically send email/texts when forms are required
& even more!
We hope our new Online Forms feature will help your business go paperless, save precious time, limit close contact, and streamline valuable data collection. To explore our new forms feature in action, watch this video!